Mastering halftone screen printing techniques is a vital skill for achieving high-quality prints with intricate shading, gradients, and smooth color transitions. Whether you are new to screen printing or looking to refine your skills, understanding halftone techniques can significantly improve your work. In this article, we’ll walk you through the essential steps on how to master halftone screen printing techniques, so you can produce prints that stand out for their depth and detail.
Understanding Halftone Screen Printing Techniques
Halftone screen printing is the process of turning an image or design into a series of dots, which vary in size and spacing to create gradients or shading. It is widely used in the printing industry for replicating photographs or artwork with subtle color variations. How to master halftone screen printing techniques begins with understanding how dots work. By altering the size, shape, and density of the dots, you can simulate continuous tones and create the illusion of depth and shading in your prints.

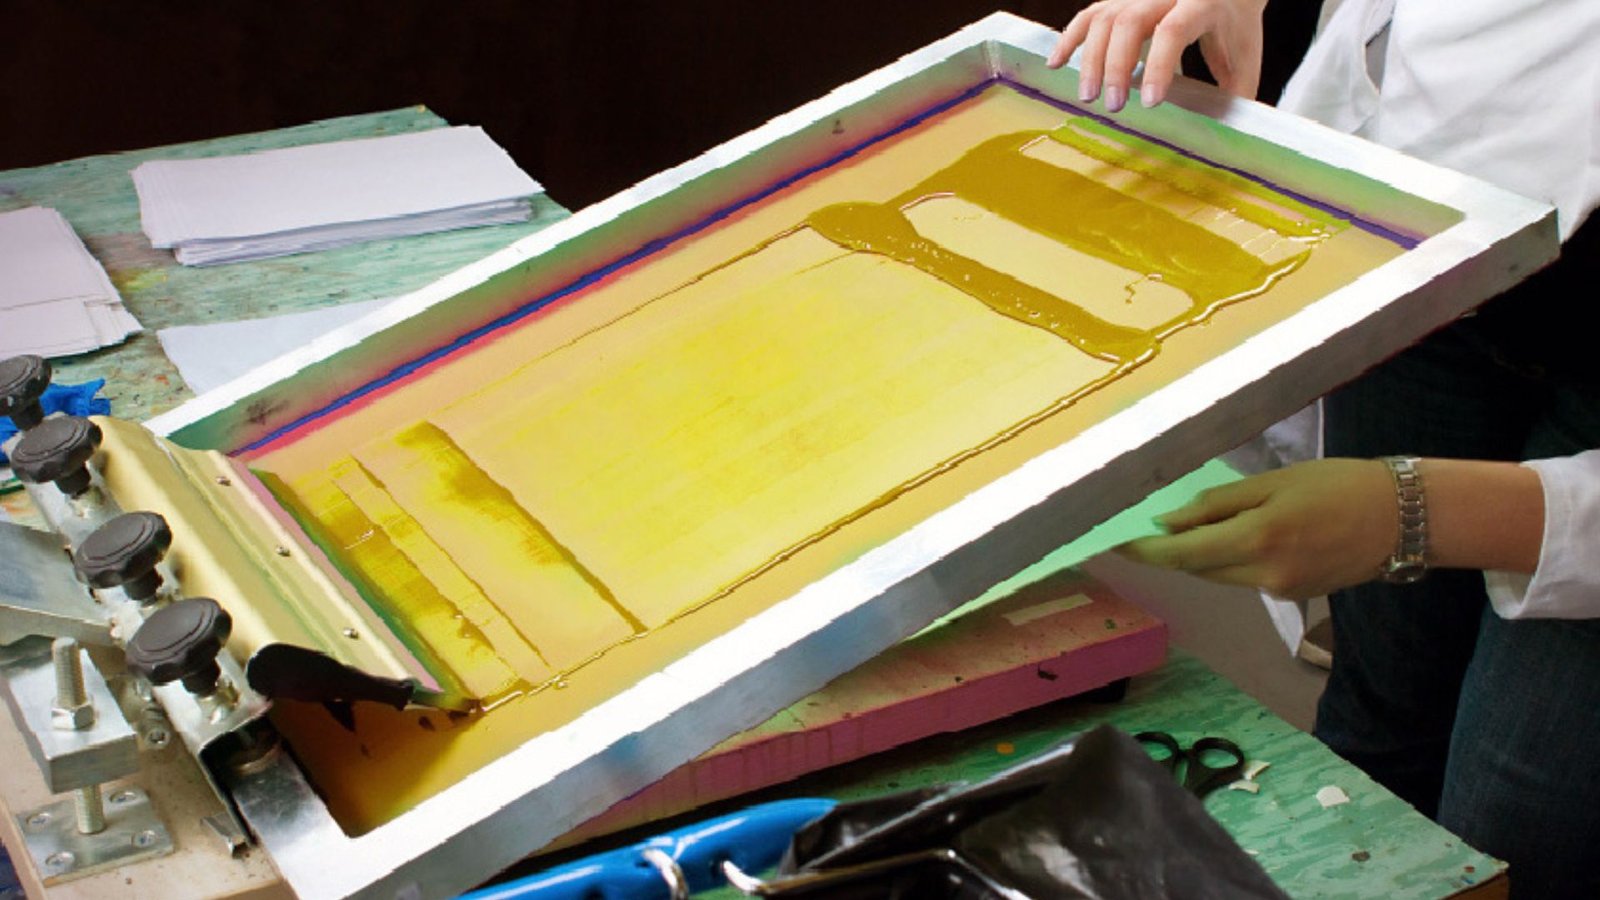
Choose the Right Mesh Count
The first step in how to master halftone screen printing techniques is selecting the right mesh count for your screen. The mesh count refers to the number of threads per inch in the mesh material, which plays a crucial role in the sharpness and clarity of the halftone dots. A higher mesh count is ideal for detailed designs, as it allows for smaller and finer dots. A lower mesh count is better for bolder, less detailed prints.
Create the Right Halftone Pattern
Once you’ve selected your mesh, the next step is creating your halftone pattern. There are several halftone patterns to choose from, such as round, square, or elliptical. The round pattern is the most common and is usually the best option for photographic or realistic designs.
The halftone pattern is created in graphic design software, where you can adjust the dot size, frequency, and angle. The key to how to master halftone screen printing techniques is making sure your halftone pattern matches the look and feel of your design. The size of the dots and their density will determine the tonal range and texture in your final print.
Adjust the Resolution of Your Artwork
When working with halftones, resolution is crucial. For how to master halftone screen printing techniques, always start with high-quality images at 300 DPI (dots per inch) or higher. This will ensure that the halftone dots align well and that the image maintains its detail during the printing process. The key here is to maintain high image quality to ensure a sharp and clear final result.
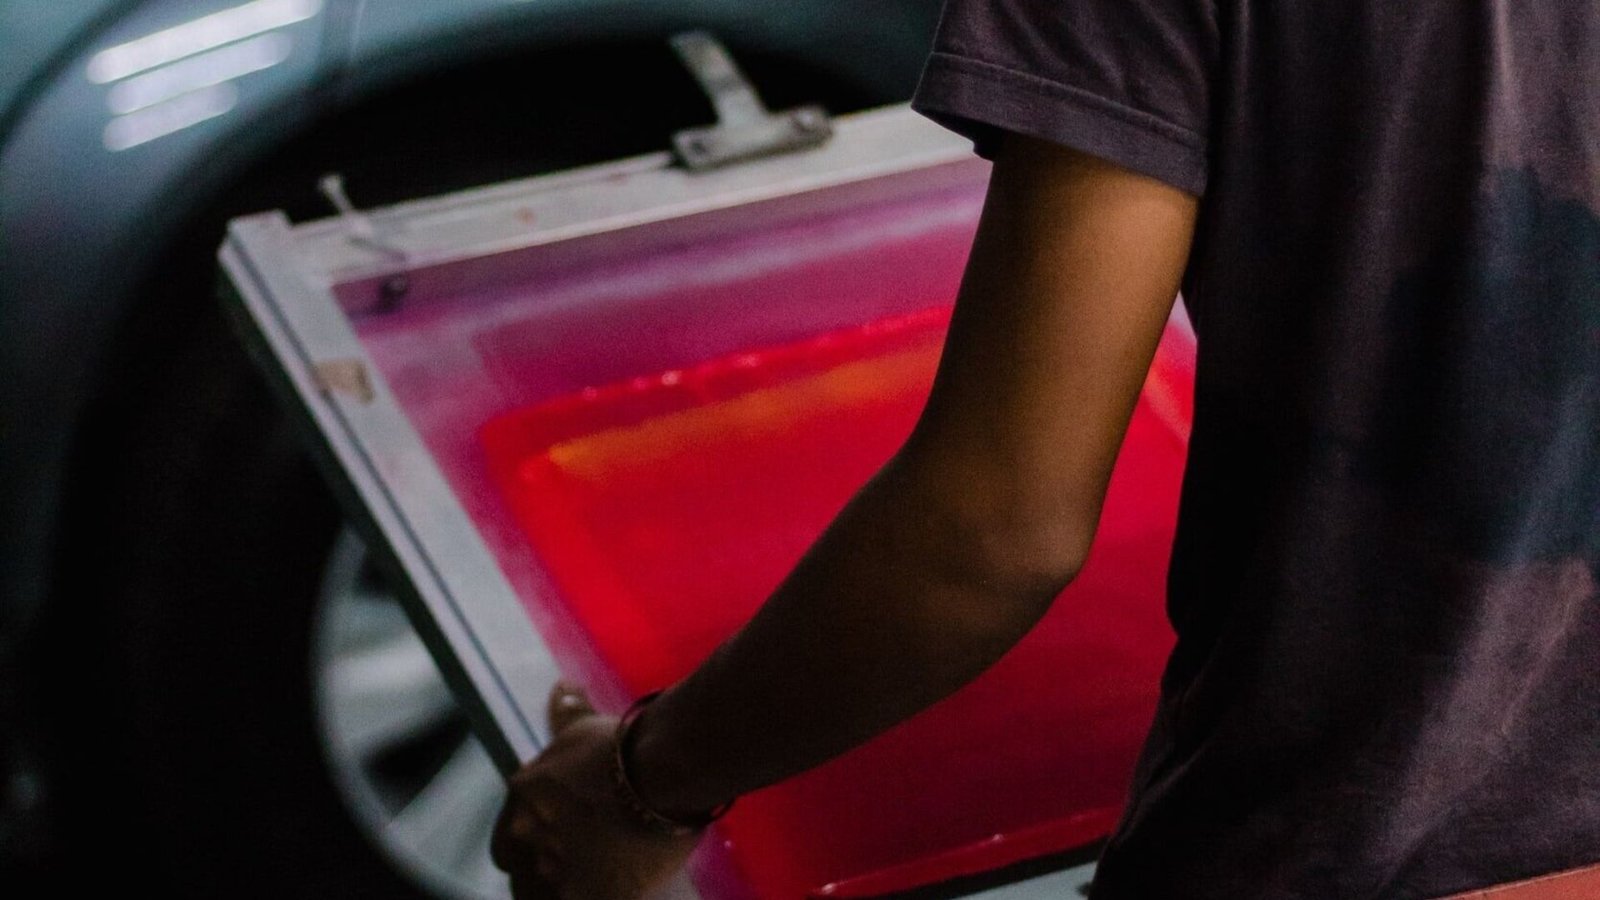
Test Your Prints
One of the most important parts of how to master halftone screen printing techniques is testing your prints before you begin a larger batch. Always print a sample and closely inspect the result. Look for any inconsistencies in dot size, gaps in the design, or unwanted smudging. It’s better to catch these issues early on and make adjustments to your technique before proceeding with the full run.
This step allows you to fine-tune your screen setup, mesh count, ink density, and curing process. Don’t skip the testing phase, as it’s vital for ensuring your prints turn out perfectly.
Conclusion
Mastering halftone screen printing techniques takes time, practice, and a deep understanding of the process. With dedication and attention to detail, you’ll be able to create intricate, professional-quality prints that truly showcase your design skills.