")


Screen printing is a popular method used to print designs on various materials like t-shirts, posters, and other products. How screen printing works step by step is simple once you understand the process. This technique is widely used in businesses and for custom products. In this article, we will explore the essential steps involved in screen printing and how each step contributes to the final design.

Preparing the Screen
The first step in how screen printing works step by step is preparing the screen. This screen is made of a fine mesh, usually made of polyester or nylon. The mesh is stretched tightly over a frame, and it’s essential for creating a clean and precise print.
Coating the Screen with Emulsion
Next, you coat the screen with a layer of emulsion. The emulsion is a light-sensitive chemical that helps create the design. You need to apply the emulsion evenly and let it dry in a dark room to avoid premature exposure to light. Once dry, the screen is ready for the next step in the process.
Creating the Design
The next part of how screen printing works step by step involves creating the design that will be printed. This can be done using computer software to create digital artwork or drawing the design by hand. The design is then transferred onto a transparent film, which will be used to expose the screen.
Exposing the Screen to Light
Once you have your design on the film, it’s time to expose the screen to light. You place the film on the emulsion-coated screen and expose it to ultraviolet (UV) light. The light hardens the emulsion, except for the areas blocked by the design. These areas remain soft, and they will wash away, leaving behind your design on the screen.
Preparing the Printing Materials
Now that the screen is ready, it’s time to prepare the materials you will print on. How screen printing works step by step includes selecting the right materials. These can include fabric, paper, wood, or plastic, depending on the project. It’s important to ensure the surface is clean and smooth for the best results.
Choosing the Right Ink
The next step is choosing the right ink for the job. Different inks are used for different materials, so you need to select one that works well with your chosen surface. Plastisol ink is commonly used for t-shirts, while water-based ink may be used for more eco-friendly prints. The ink is then placed on the screen in a thin line across the top.
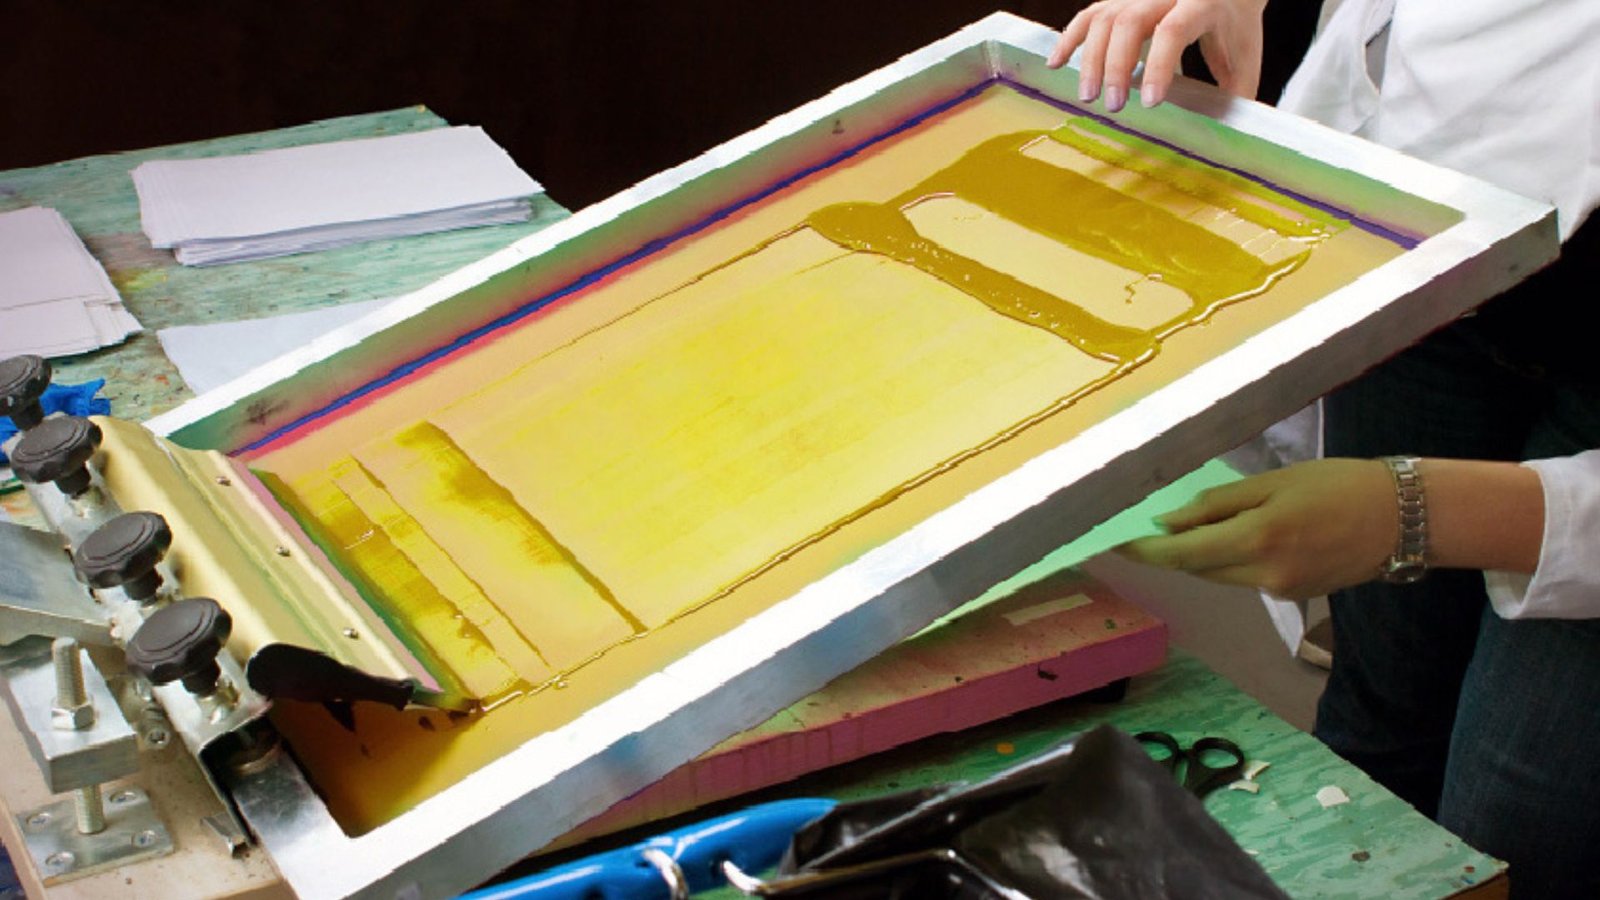
Printing the Design
With the screen prepared and the materials ready, it’s time to print. This is the key part of how screen printing works step by step. You place the material (like a t-shirt) on a flat surface under the screen. Using a squeegee, you press the ink through the screen mesh onto the surface below, transferring the design. This step may need to be repeated for multiple colors in the design.
Drying the Ink
After the design is printed, the ink must be dried. Drying the ink ensures that the design sticks to the material and won’t smudge. You can use a heat press or conveyor dryer to cure the ink, depending on the type of ink used. It’s important to let the ink cool down before moving the item to avoid any damage to the print.
Final Touches
The last part of how screen printing works step by step is making any final adjustments or touches. This can include additional layers of ink if necessary or checking the print for any imperfections. Once everything is dry and the print looks perfect, the item is ready to be sold or used.
Conclusion
In conclusion, how screen printing works step by step is a detailed process, but it’s not difficult once you break it down. By preparing the screen, creating the design, selecting the right materials, and printing the design carefully, you can create beautiful custom prints. Screen printing is a versatile and effective way to bring your ideas to life on various materials, and understanding each step helps you achieve the best results.