Screen printing is a popular method for creating vibrant, long-lasting designs on various materials. Whether you want to make custom t-shirts, posters, or other merchandise, screen printing allows you to create unique prints with precision and quality. If you’re new to this process, it can seem intimidating. However, with the right tools and techniques, anyone can start printing like a pro. In this beginner’s guide, we will walk you through the basics of screen printing and how to get started.

What is Screen Printing?
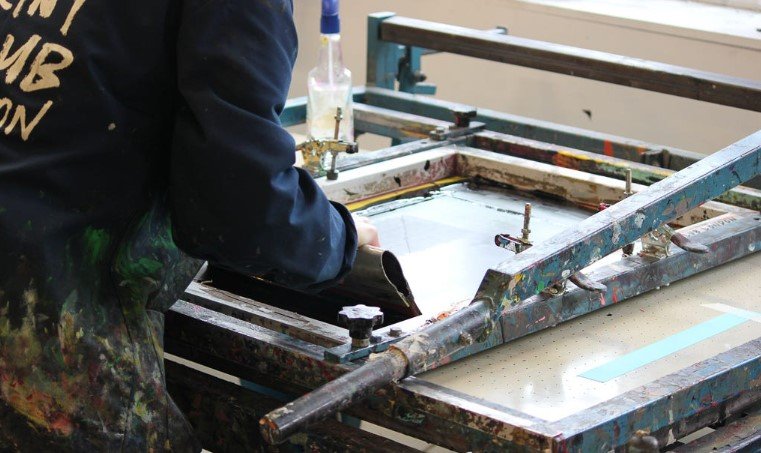
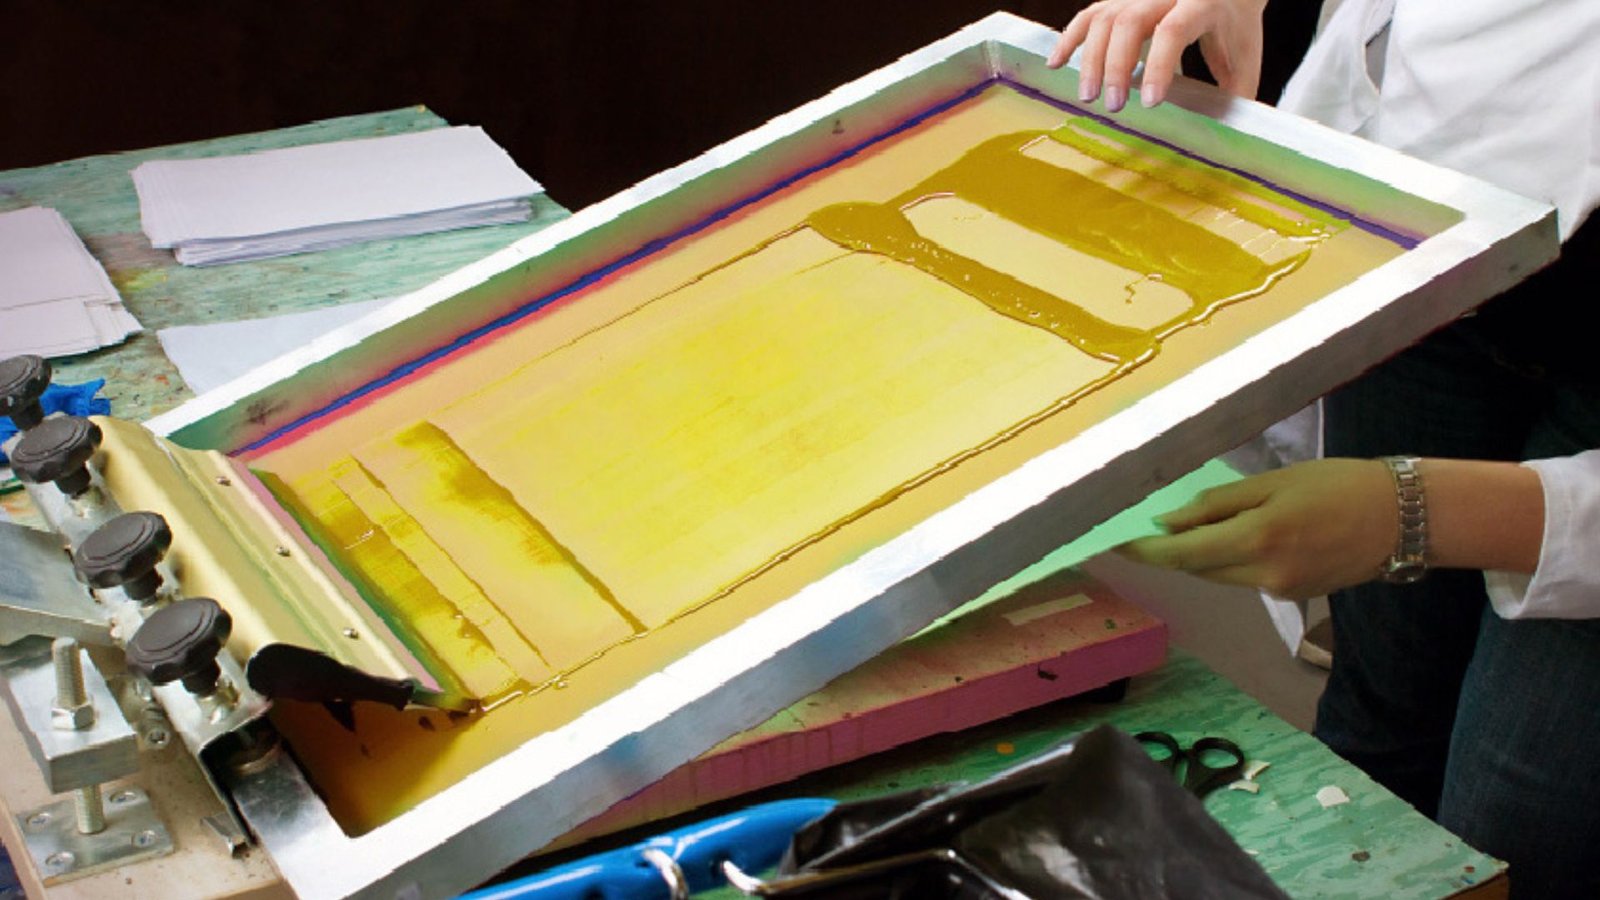
Screen printing, also known as silkscreen printing, involves transferring a design onto a surface using a mesh screen. The screen is coated with a stencil, and ink is pushed through the mesh to create the design. This technique is perfect for printing bold, colorful designs and is commonly used for t-shirts, hoodies, posters, and other items. Unlike digital printing, screen printing can produce high-quality results, even on textured materials like fabric and wood.
Materials Needed for Screen Printing
Before you dive into screen printing, it’s important to gather the right materials. The basic tools and supplies you will need include:
- Screen Printing Frame: This frame holds the mesh screen in place while you work.
- Mesh Screen: A fine mesh material that allows the ink to pass through. The mesh should be tightly stretched and durable.
- Emulsion: A photosensitive liquid that helps create the stencil.
- Ink: Special screen printing ink is used to transfer the design onto the surface.
- Squeegee: A rubber blade used to push ink through the screen.
- Printing Surface: This can be t-shirts, paper, or any other material you plan to print on.
Having these materials ready will make your printing process much smoother.
Step-by-Step Screen Printing Process
Once you have the right materials, it’s time to start the printing process. Here’s a simple step-by-step guide to help you get started:
1. Prepare Your Design
First, create your design. You can either draw it by hand or use digital design software. If you’re working with a digital design, print it onto a transparent film. This will be used to create the stencil on your screen. Ensure your design has clear, defined lines and is suitable for screen printing.
2. Coat the Screen with Emulsion
Next, coat the mesh screen with emulsion using a coating tool. Make sure the emulsion is evenly spread across the screen. After applying the emulsion, let the screen dry in a dark room to avoid exposing it to light before it’s set.
3. Expose the Design to the Screen
Place your design (printed on the transparent film) on the screen and expose it to light. The light hardens the emulsion, except where the design blocks it. This creates a stencil of your design on the screen. After exposure, rinse the screen with water to wash away the unexposed emulsion. Let the screen dry.
4. Print the Design
Once the stencil is ready, it’s time to print. Position your material (like a t-shirt or paper) under the screen. Pour ink onto one side of the screen, then use the squeegee to pull the ink across the screen, pressing it through the open areas of the stencil. Repeat this process until your design is fully printed.
5. Dry the Ink
After printing, allow the ink to dry. Depending on the type of ink used, you may need a heat press or heat gun to speed up the drying process. Once dried, your print is complete and ready for use.
Conclusion
Screen printing is a rewarding and creative process that allows you to bring your designs to life. While the process may seem complex at first, it becomes easier with practice. By following the steps outlined in this guide, you’ll be well on your way to producing high-quality prints. As you gain experience, you can experiment with different materials and techniques to create unique designs. Screen printing is a great skill for personal projects or even starting a small business. Happy printing!


